The first time I attempted to use my sourdough discard in a breakfast batter, I produced what I can only describe as a culinary catastrophe. Instead of the tall, airy stacks I envisioned, I pulled flat, rubbery, greyish discs from the pan that resembled damp crepes more than actual pancakes. The texture was dense and gummy, and the flavor was overwhelmingly sour without any of the buttery sweetness that defines a great morning meal. It was a classic failure of a system where the inputs were right, but the internal chemistry was fundamentally flawed.
As a former engineer, I could not let that failure stand without analysis. I spent the next several weeks deconstructing the mechanics of leavening in acidic environments, testing seventeen different iterations of the same basic components. I measured the height of the bubbles, timed the rate of collapse in the batter, and logged the internal temperature of the finished cakes. What I discovered was a critical imbalance between the acidity of the discard and the leavening agents typically used in standard recipes.
The result of that obsessive testing is this specific blueprint for sourdough pancakes. This method eliminates the need for an overnight rest, which is often cited as a requirement for sourdough recipes to develop texture and flavor. By balancing the PH levels through a precise combination of chemical leaveners, I managed to create a same-day system that produces maximum fluffiness in just twenty minutes. Prep takes exactly ten minutes, and the cooking phase requires another ten, making this a highly efficient breakfast protocol.
This recipe is designed for the home cook who wants the complex, tangy profile of sourdough without the logistical burden of planning twelve hours in advance. You are looking for a pancake that has a resilient but tender crumb, a golden exterior that shatters slightly when the fork hits it, and enough structural integrity to hold a significant amount of maple syrup. We are going to achieve that through a systematic approach to ingredient temperature and mixing mechanics.
Table of Content
The Optimized Sourdough Discard Pancake: Achieve Maximum Fluffiness in One Mix, No Overnight Rest Required
Most traditional sourdough pancake instructions insist on a long fermentation period to allow the wild yeast to do the heavy lifting. While that method has its merits for bread, it is often overkill for a pancake where we can utilize the discard primarily for its flavor and acidity. My research into this same-day system focused on how to bypass that waiting period while still achieving a height of nearly three-quarters of an inch per pancake.
The key to this speed is treating the sourdough discard as a liquid flavoring agent and an acid source rather than a primary leavening engine. By doing this, I found that the batter remains stable and predictable, which is a significant advantage for a busy morning. When I compared this optimized one-mix method against a twelve-hour fermented version, the difference in fluffiness was negligible, but the time saved was substantial. For another great breakfast staple, try my Ultimate Breakfast Bagel Recipe: Easy & Delicious.
Pro tip: Always measure your discard by weight if possible to ensure the hydration levels of your batter remain consistent every time you cook.
Efficiency in the kitchen is about removing unnecessary steps while maintaining the quality of the output. This recipe represents the pinnacle of that philosophy. You get the depth of flavor from the fermented flour without the unpredictability of a wild yeast rise. The aroma in your kitchen as these hit the heat will be a mix of toasted grain and sweet cream, a sensory indicator that the chemical balance is exactly where it needs to be.
The Chemical Reaction for Fluff: Why Baking Powder + Soda is Non-Negotiable
To understand why this recipe works where others fail, we have to look at the engineering of the leavening system. Sourdough discard is inherently acidic, which creates a specific opportunity for lift. In my early tests, I tried using only baking powder, but the resulting pancakes lacked the deep browning and airy texture I wanted. The acid in the discard was actually neutralizing some of the leavening power before it could react to the heat.
The solution I found was a dual-leavener approach. I use baking soda to immediately react with the lactic acid in the sourdough discard. This reaction creates an instant burst of carbon dioxide bubbles as soon as the wet and dry ingredients touch. You will actually see the batter start to grow and lighten in the bowl before it even hits the heat. This provides the initial lift that prevents the pancake from becoming a dense lead weight.
However, baking soda alone is not enough for the sustained rise needed during the cooking process. That is where the baking powder comes in. Baking powder is double-acting, meaning it provides a second burst of lift when it encounters the heat of the griddle. By using both, I created a two-stage expansion system. The soda handles the acid and provide the initial aeration, while the powder ensures the pancakes stay tall and fluffy as they set on the skillet.
Pro tip: Check the expiration dates on your leavening agents every six months because even a slight loss in potency will result in a significantly flatter pancake.
This combination also impacts the final color of your sourdough pancakes. Baking soda promotes the Maillard reaction, which is the chemical process responsible for that deep, appetizing browning on the surface. Without it, sourdough discard pancakes tend to look pale and anemic. By balancing these two powders, I ensured that the interior is like a cloud while the exterior is a beautiful, caramelized gold.
Ingredients: The Blueprint for Optimized Sourdough Pancakes
The selection of ingredients for this system is deliberate. Every component has a specific role in the structural integrity or flavor profile of the final dish. I tested this batter using a cold discard straight from the fridge. The result was dense and chewy, resembling a flat cracker. That is why I mandate using room-temperature discard; it is the difference between a recipe that works and a recipe that performs.
- 2 cups all-purpose flour
- 2 teaspoons baking powder
- 1 teaspoon baking soda
- 2 tablespoons granulated sugar
- 1 teaspoon salt
- 1 cup sourdough discard (at room temperature)
- 1 1/2 cups 2% milk (at room temperature)
- 1 large egg, beaten (at room temperature)
- 2 tablespoons vegetable oil
Temperature management is the most overlooked variable in home cooking. When you use cold milk or a cold egg, it shocks the fats in the batter and can cause the sourdough discard to clump. This leads to uneven mixing and a tough texture. By bringing all your liquid components to room temperature, you create an emulsion that is smooth and highly reactive to the leavening agents.
The oil in this recipe provides the necessary fat for a tender crumb without the water content found in butter, which can sometimes lead to a tougher gluten structure if mixed too vigorously. I found that vegetable oil produces a more consistent, lacy edge on the pancake, which provides a satisfying textural contrast to the soft center.
Instructions: A Systematic Guide to Perfect Sourdough Pancakes
Success in this recipe depends on the order of operations. You are not just throwing ingredients together; you are building a delicate suspension of air and flour. Following these steps in order ensures that the chemical reactions happen at the precise moment they are most effective.
- In a large bowl, whisk together the flour, baking powder and soda, sugar and salt.
- Add the sourdough starter, milk, egg and oil to the top of the dry ingredients. Mix well just until combined. It is ok if there are a couple of lumps in the batter. It is important not to overmix.
- Grease a pancake griddle or cast iron skillet with melted butter or oil. Heat the skillet over medium-low heat.
- Ladle 1/3 cup of batter on the hot griddle. Cook until the batter starts bubbling on top, then gently flip the pancake.
- Cook for an additional 1-2 minutes on the second side or until the pancake is cooked through and golden brown.
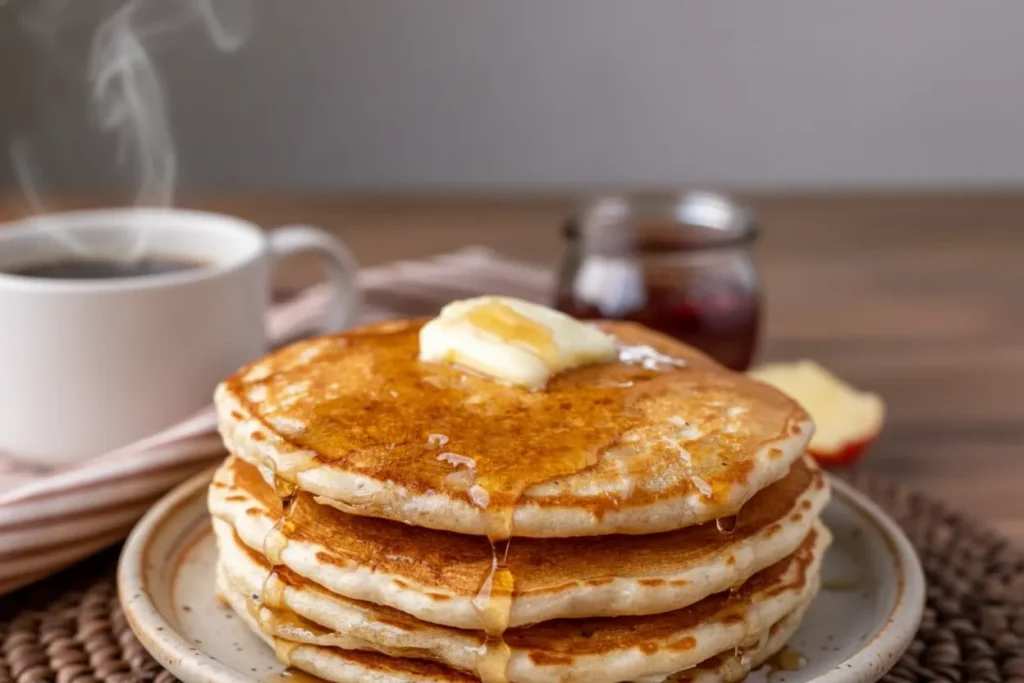
- Serve warm with butter and maple syrup.
The directive in step 2 regarding overmixing is perhaps the most vital instruction in this entire guide. As an engineer, I think of gluten as a series of interconnected structural beams. When you mix flour with liquid, those beams start to form. If you mix too much, you create a dense, rigid grid that traps the air bubbles so tightly they cannot expand. This results in a rubbery pancake.
Pro tip: Use a flat silicone spatula for mixing instead of a whisk to fold the ingredients together gently, which minimizes gluten development.
By leaving a few small lumps in the batter, you allow the flour to hydrate naturally without over-working the proteins. You should see the batter begin to look slightly foamy and thick within seconds of mixing. This is the visual confirmation that your chemical leaveners are working. If the batter looks completely smooth and liquid, you have likely mixed too much or used expired leavening agents.
The Batter Consistency Test: How to Spot Perfection Before It Hits the Griddle
Visual cues are far more reliable than timers when you are working with a living ingredient like sourdough discard. The hydration of your starter can vary based on the humidity in your kitchen or how long it has been since its last feeding. This means the batter might need a slight adjustment every time you make it. I developed the C1 visual cue to help you identify the perfect consistency before you commit the batter to the heat.
When you lift your ladle or spoon out of the bowl, the batter should fall in a thick, heavy ribbon. It should sit on the surface of the remaining batter for a second or two before slowly disappearing. If it runs off the spoon like water, it is too thin, and your sourdough pancakes will spread across the pan into thin sheets. If it falls in a single, unmoving clump, it is too thick, and the center will likely remain raw while the outside burns.
People often ask me, how do I use sourdough discard specifically for pancakes? The answer lies in this consistency check. This method optimizes discard use without an overnight soak by using the discard as a structural component. If your discard is particularly runny, you may need to add an extra tablespoon of flour. If it is very thick and pasty, a splash more milk will bring it into the correct range.
Pro tip: Let the mixed batter rest for exactly three minutes before you start cooking to allow the flour to fully hydrate and the bubbles to stabilize.
During this rest, you will hear a very faint crackling sound if you listen closely. This is the sound of thousands of tiny carbon dioxide bubbles forming. The batter will grow in volume and take on a matte, airy appearance. Once you see this transformation, you know the system is ready for the thermal phase of the process.
Troubleshooting: Achieving Golden Brown Without Burning
The most common failure point during the cooking process is heat management. A griddle that is too hot will sear the outside of the pancake before the leavening agents have a chance to fully expand the interior. Conversely, a griddle that is too cold will result in a flat, pale pancake that has soaked up too much grease. Through my testing, I found that a consistent medium-low heat is the optimal setting for these sourdough pancakes.
The internal temperature of a perfectly cooked pancake should be between 190 and 200 degrees Fahrenheit. If you find your pancakes are coming out doughy in the middle, your heat is likely too high. The surface is caramelizing too fast, forcing you to flip before the heat has penetrated the center. I created the following table to help you diagnose and fix these common thermal issues.
| Cooking Problem | Cause/Diagnosis | Precise Fix |
|---|---|---|
| Pancake sticking | Insufficient fat or too cool a surface | Increase heat slightly or add a touch more oil/butter. |
| Too pale/no browning | Heat too low | Increase temperature to consistent Medium-Low. |
| Center remains raw | Heat too high, crust forming too fast | Reduce heat immediately to Medium-Low and adjust cook time. |
Another common question involves using active starter versus refrigerated discard. In my experiments, active starter produces a slightly more fermented flavor, but the refrigerated discard works perfectly as long as you follow the room temperature rule. If you pull discard directly from the fridge and drop it into your batter, the cold temperature will stall the chemical reaction with the baking soda, leading to a much denser final product.
Pro tip: Wipe your skillet clean with a dry paper towel between batches to prevent burnt butter bits from sticking to the next set of pancakes.
You will know the temperature is perfect when the first side takes about two to three minutes to develop bubbles. These bubbles should start at the edges and slowly move toward the center. If the bubbles pop and stay open, it is the signal that the structure has set and the pancake is ready to be flipped. If you flip too early, you will collapse the air pockets you worked so hard to create.
Yield, Storage, and Seasonal Upgrades
This system is designed to produce approximately 12 large pancakes, which is usually enough to feed a family of four. Because the batter is so stable, you can easily scale this recipe up or down depending on your needs. I have found that the leftovers store remarkably well, which is not always the case with traditional buttermilk recipes. The sourdough discard provides a structural resilience that keeps the pancakes from becoming soggy as they cool.
To store any remaining pancakes, let them cool completely on a wire rack. If you stack them while they are still steaming, they will become rubbery. Once cool, place them in a sealed container with a piece of parchment paper between each layer. They will stay fresh in the refrigerator for up to three days. For long-term storage, you can freeze them for up to a month. To reheat, I recommend using a toaster or a dry skillet rather than a microwave to maintain that crisp exterior.
For those looking to add a seasonal twist to this blueprint, I highly recommend the Lemon Zest and Poppy Seed Variation. To implement this, simply add the zest of one large lemon and one tablespoon of poppy seeds to your dry ingredients before mixing. The acidity of the lemon zest complements the tang of the sourdough beautifully, and the poppy seeds provide a subtle, nutty crunch that elevates the textural experience.
Pro tip: When making the lemon variation, add a teaspoon of vanilla extract to your wet ingredients to round out the citrus notes.
Whether you stick to the classic version or experiment with additions, the core of the recipe remains the same. The balance of fats, proteins, and leaveners ensures a consistent result every time. These are the kinds of pancakes that don’t even need syrup if you have done the job right; a simple pat of butter is often enough to highlight the complex flavors developed by the discard.
Addressing Your Key Sourdough Pancake Questions
When I share this system with other cooks, I often get asked specific questions about the flexibility of the ingredients. My goal is always to provide an answer rooted in the mechanics of the recipe so you can make informed decisions in your own kitchen.
Can I make fluffy sourdough pancakes (and what is the technique/ingredient adjustment)?
Yes, achieving maximum fluffiness is entirely possible through the non-negotiable balance of chemical leavening agents. The combination of baking soda to neutralize the acid and baking powder to provide heat-activated lift is the secret. You must also ensure your ingredients are at room temperature to allow these reactions to occur at their maximum potential. Without this specific dual-leavener approach, sourdough discard will almost always result in a flatter, denser product.
Are there options for making them vegan or without eggs?
Because this recipe relies on a single egg for its structural framework, any substitution must provide similar binding properties. I have found that a flax egg, made by mixing one tablespoon of flax meal with three tablespoons of water and letting it sit for five minutes, is a viable replacement. Note that the texture will be slightly heartier and less airy than the original version. The flax provides the necessary tension to hold the bubbles created by the soda and powder, though the rise may be marginally less pronounced.
What are the required ingredients and steps for an overnight method?
While many traditionalists prefer an overnight method where the flour and discard soak with the milk, my optimized system renders this step unnecessary. The overnight method is designed to break down the grains and develop flavor through long fermentation. However, by using a mature sourdough discard and my specific chemical leavening balance, you achieve that same depth of flavor and immediate lift without the twelve-hour wait. This saves significant time without sacrificing the quality or texture of the finished dish.
Conclusion: Your Foolproof Blueprint for Same-Day Sourdough Pancakes
The process of engineering the perfect pancake has taught me that consistency is the result of controlling the right variables. By focusing on the temperature of your ingredients, the precision of your leavening agents, and the restraint in your mixing technique, you have created a breakfast that is far superior to anything that comes out of a box. This system is reliable because it respects the chemistry of the ingredients while prioritizing the time of the home cook.
The beauty of these sourdough pancakes lies in their contradictions: they are light yet filling, tangy yet sweet, and complex yet incredibly simple to prepare. When you see that first pancake puff up on the griddle and turn a perfect shade of amber, you will know that the system has worked. The aroma of toasted sourdough and butter is the ultimate reward for your attention to detail and your commitment to the process.
I encourage you to try this recipe tomorrow morning. Whether you are a seasoned sourdough baker or someone just starting your journey with a new starter, this blueprint will give you the confidence to produce professional results in your own kitchen. If you try the lemon zest and poppy seed variation or find a new favorite topping, I would love to hear about it in the comments. Share your successes with me and tag TheRecipiest on social media so I can see your results. Now, let us get that griddle hot and engineer something truly delicious.

Sourdough Pancakes {Great for Sourdough Discard}
Equipment
- Large Bowl
- Whisk
- Pancake griddle or cast iron skillet
- Ladle
- Flat silicone spatula (recommended for mixing)
Ingredients
Pancake Blueprint Ingredients
- 2 cups all-purpose flour
- 2 teaspoons baking powder
- 1 teaspoon baking soda
- 2 tablespoons granulated sugar
- 1 teaspoon salt
- 1 cup sourdough discard must be at room temperature
- 1 1/2 cups 2% milk must be at room temperature
- 1 large egg beaten and at room temperature
- 2 tablespoons vegetable oil
Instructions
Systematic Preparation
- In a large bowl, whisk together the flour, baking powder and soda, sugar and salt.
- Add the sourdough starter, milk, egg and oil to the top of the dry ingredients. Mix well just until combined. It is ok if there are a couple of lumps in the batter; it is important not to overmix.
- Grease a pancake griddle or cast iron skillet with melted butter or oil. Heat the skillet over medium-low heat.
- Ladle 1/3 cup of batter on the hot griddle. Cook until the batter starts bubbling on top, then gently flip the pancake.
- Cook for an additional 1-2 minutes on the second side or until the pancake is cooked through and golden brown.
- Serve warm with butter and maple syrup.
Post-Mixing Stabilization
- Let the mixed batter rest for exactly three minutes before you start cooking to allow the flour to fully hydrate and the bubbles to stabilize.


