If you have ever wrestled with disappointing, rubbery chicken skin straight from an air fryer, I know the frustration intimately. For months, I chased that perfect exterior, cycling through convection oven methods, commercial coatings, and varied oil applications, only to end up with an uneven, flabby result that defeated the entire purpose of using a high-heat appliance. The breakthrough came when I stopped treating the wing coating as just a flavor enhancer and started treating it as a necessary chemical catalyst. This article presents my optimized system for flawless air fryer chicken wings, guaranteeing shatteringly crisp skin without deep frying.
This entire process is incredibly fast. You are looking at a Prep Time of just 5 Minutes and a Cook Time of approximately 15 Minutes, bringing the Total Time for these perfect wings to only 20 Minutes. My goal here is to eliminate variance so you replicate my success immediately.
Table of Content
Deconstructing Crispiness: The Non-Negotiable Role of Baking Powder and White Pepper
The secret to achieving superior results with air fryer chicken wings lies not in a complicated sauce, but in the precise chemistry applied to the skin before it ever hits the basket. When I began breaking down the variables that affect dehydration at high heat, I landed on the undeniable chemical benefit of using an alkaline agent. Baking powder is crucial because it raises the surface pH of the skin, which significantly speeds up the Maillard reaction and accelerates moisture evaporation. This means you achieve a deeper, faster browning and significantly crispier texture than you would otherwise manage in the short cook time available.
I also insist on using white pepper over its black counterpart in the initial seasoning mix. When testing at 400F, I noticed that black pepper tends to toast and impart a slightly harsh, sometimes bitter note to the seasoning base. By utilizing white pepper, I maintain a clean, sharp spice background that complements the chicken flavor without introducing that aggressive high-heat char flavor. This allows the pure essence of the crispy skin and seasoned meat to shine through in your finished air fryer chicken wings.
The Ingredients: Engineering the Perfect Coating System
To ensure this process is reliable, I tested this recipe using three different basket loading densities—loose, touching slightly, and crowded. The timings and ratios provided below are calibrated specifically for a loosely packed, single layer configuration, which allows the hot air to circulate completely around every piece. Any deviation requires re-evaluating the cook time, which is why precise measurement here matters.
- 1 lb chicken wings (separated into drummettes and flats)
- 1/2 tsp kosher salt (or to taste)
- 1/2 tsp white pepper
- 1/2 tsp baking powder
- 1/2 tbsp neutral oil (I used avocado oil)
The oil acts as a binding agent, ensuring the dry ingredients—especially that critical baking powder—adhere evenly across the entire surface area of the wing. If you skip the oil, the powder tends to clump or fall off during the initial heating phase, leading to patchy crispness.
The Two-Phase System: Precisely Calibrating Time and Temperature for Perfect Wings
My system relies on a two-phase cook to manage both the internal temperature of the meat and the external crispness simultaneously. The initial phase focuses on driving out the surface moisture efficiently before the skin begins to seal. The second phase finishes the process, allowing the skin to fully crisp up without drying out the meat underneath.
| Wing Component | Phase 1 Cook (10 Minutes at 400F) | Phase 2 Cook (For Crispness) |
|---|---|---|
| Drummettes & Flats (Average Size) | Drive out moisture | Flip and cook for 8 minutes at 400F |
| Larger Wings (Drummettes) | Drive out moisture | Flip and cook for 11 minutes at 400F |
| Smaller Wings (Flats) | Drive out moisture | Flip and cook for 5 minutes at 400F |
The initial, non-negotiable step is running the wings for 10 minutes at 400F. This is enough time to begin shrinking the skin and creating a foundation for crispness before we flip them over to achieve the final color and texture. For a different, but equally satisfying crispy bite, try my Amazing Crispy Tofu Bowl recipe.
Instructions: Executing the Optimized Air Fryer Wing Blueprint
Follow these exact sequence steps to implement the optimized coating and two-phase cooking methodology. Every action is designed to maximize the effect of the baking powder application.
- Pat the chicken wings dry with a paper towel to remove excess moisture.
- In a bowl, season the chicken wings with salt and white pepper along with baking powder and neutral oil. Mix until the wings are evenly coated.
- In a single layer, place the chicken wings in the air fryer ensuring they do not touch each other, and air fry for 10 minutes at 400F.
- Flip the chicken wings and air fry again for 5-11 minutes at 400F (depending on the size of the wings – see note above) or until the skin is golden brown and crispy.
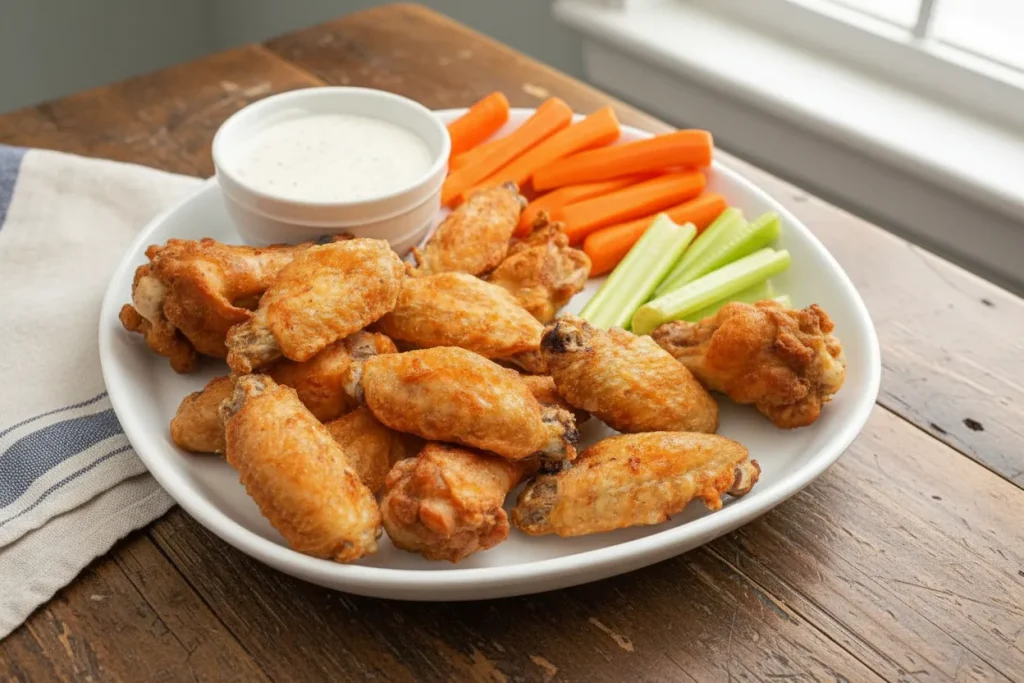
- Serve with your favorite wing sauce or eat dry and enjoy!
It is crucial to flip the wings exactly at the 10-minute mark. I learned this after noticing that wings left undisturbed after the first phase developed a beautiful texture on the bottom that the top side simply could not match; flipping ensures even heat distribution across the varied surface areas of the drummettes and flats, which is key to achieving uniform, crisp skin across the whole batch.
Troubleshooting & Calibration: Adjusting the Cook for Basket Size and Frozen Wings
If you are working with a smaller air fryer basket or need to increase the recipe yield, you must reduce your batch size. Remember, overcrowding is the enemy of crispness; if the wings are touching significantly, the trapped steam prevents the skin from drying out properly. If overcrowding occurs, you must perform a vigorous mid-cook shake halfway through the second phase and budget for 2-3 extra minutes of cook time overall.
For those wondering about cooking from frozen, I advise against it for maximum crispness, but if necessary, you must calibrate your initial blast. If cooking from frozen, increase the initial cook time by 5 minutes (20 minutes total in Phase 1) and begin testing for doneness 3 minutes earlier than the scheduled minimum in Phase 2. The extra time melts the ice without steaming the wing, though the final texture will be marginally less perfect than starting from raw.
Maximizing Your Result: Yield, Storage, and Sauce Application
This specific recipe yields approximately 1 lb of wings, which comfortably serves 2 people as a hearty appetizer or one very hungry individual. Should you have leftovers, never store them touching in an airtight container; they will steam themselves soft. Store leftover wings uncovered in the refrigerator overnight. To recover the texture the next day, reheat them in the air fryer at 375F for 3 minutes; this crisps them back up beautifully.
A final, critical step in this optimized blueprint is when to apply the sauce. I strongly recommend employing the Post-Fry Sauce Toss. Saucing the wings before they enter the air fryer almost invariably results in a soggy, burnt mess because the sugars and spices scorch before the skin renders. By tossing the wings immediately after they exit the fryer in Step 4, you coat the already rendered, dry exterior, locking in the desired crispy texture achieved by our baking powder system.
Frequently Asked Questions
What is the secret ingredient?
The true secret lies in the synergistic effect of the baking powder and the white pepper. The baking powder chemically alters the skin’s surface for rapid dehydration and browning, while the white pepper provides a clean, sharp spice background that withstands the high cooking temperature without becoming acrid.
What are the recommended cooking times/temps for specific air fryer models (e.g., Ninja)?
While the core settings of 400F are consistent, different appliance interiors, basket shapes, and heating element strengths mean calibration is occasionally necessary. If your machine runs exceptionally hot, watch closely during the final 5 minutes of Phase 2; you might pull them slightly early if you see immediate, aggressive scorching. For most models, however, the prescribed times hold true.
Why not use cornstarch?
Cornstarch is an excellent thickener and binder, and it certainly adds a texture, but it requires a higher quantity and often results in a dusty or heavier coating. I found that baking powder provided a lighter, more structurally sound crust that crisped faster due to the chemical reaction, making it superior for the short cooking window that air frying demands.
Conclusion: Your New Air Fryer Wing System
We have successfully moved beyond guesswork by implementing a scientifically informed, two-phase timing system centered on precise surface chemistry. The reliability of these air fryer chicken wings hinges on eliminating surface moisture first, followed by a rapid crisping phase, all while leveraging the power of baking powder. This engineered process delivers consistent, restaurant-quality crispness every time you fire up your machine. I urge you to follow this blueprint exactly as written, try these wings immediately, and then come back to the comments below to report your perfectly crispy results.
Air Fryer Chicken Wings (SUPER CRISPY)
Equipment
- Air fryer
- mixing bowl
- Paper towels
Ingredients
The Ingredients: Engineering the Perfect Coating System
- 1 lb chicken wings separated into drummettes and flats
- 1/2 tsp kosher salt or to taste
- 1/2 tsp white pepper
- 1/2 tsp baking powder
- 1/2 tbsp neutral oil I used avocado oil
Instructions
Executing the Optimized Air Fryer Wing Blueprint
- Pat the chicken wings dry with a paper towel to remove excess moisture.
- In a bowl, season the chicken wings with salt and white pepper along with baking powder and neutral oil. Mix until the wings are evenly coated.
- In a single layer, place the chicken wings in the air fryer ensuring they do not touch each other, and air fry for 10 minutes at 400F (Phase 1).
- Flip the chicken wings and air fry again for 5-11 minutes at 400F (Phase 2, time dependent on wing size) or until the skin is golden brown and crispy.
- Serve with your favorite wing sauce or eat dry and enjoy!


