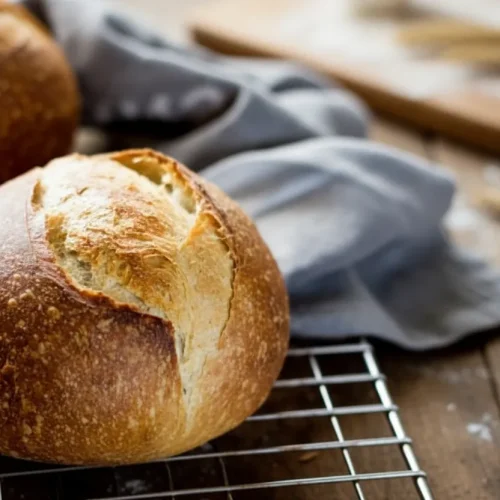
Sourdough Bread: A Beginner's Guide
This system, designed for the sourdough artisan bread, eliminates guesswork by introducing 25 grams of olive oil as a stabilizing component to create a loaf that is forgiving with a tender, accessible crumb.
Equipment
- Large Bowl
- Digital Scale
- Plastic wrap or reusable wrap
- 5 1/2 or 6-quart Dutch oven
- Bread lame, razor blade, or small sharp knife
- wire rack
Ingredients
Sourdough Blueprint Ingredients
- 150 g bubbly, active sourdough starter
- 250 g warm water (use up to 325g for the advanced version)
- 25 g olive oil
- 500 g bread flour (not all purpose flour)
- 10 g fine sea salt
For Baking
- fine ground cornmeal or non-stick parchment paper
Instructions
Mixing and Autolyse
- In a large bowl, add the sourdough starter, water, and olive oil. Mix with a fork to combine, then add the flour and salt. Continue mixing until the dough becomes stiff, then squish it together with your hands to incorporate all the flour. The dough will be rough and shaggy.
- Cover the bowl with plastic wrap, reusable wrap, or a very damp kitchen towel. Let rest for 30 minutes to 1 hour. This is the autolyse phase, an enzymatic hydration process where the flour fully absorbs the water.
- After resting, return to the bowl and work the dough into a rough ball, about 15 seconds.
Bulk Fermentation and Strengthening
- Cover the bowl with lightly oiled plastic wrap. Alternatively, transfer the dough to a high-sided dough tub. Let it rise in a warm place, ideally 70-75 F. The dough is ready when it no longer looks dense and has almost doubled in size (watch the dough, not the clock).
- During the bulk fermentation, do a series of stretch and folds to strengthen the dough. Start 30 to 45 minutes in: lift a portion of the dough, stretch it upwards, and fold it over itself. Rotate the bowl a quarter turn and repeat until you have come full circle (this equals one set). Do 1 to 2 additional sets, spaced about 1 hour apart.
- If the dough resists stretching, let it rest longer between sets to allow the gluten to relax.
Shaping and Final Proof
- Remove the dough onto a lightly floured surface. Starting at the top, fold the dough over toward the center. Turn slightly, and then fold over the next section. Repeat until you have come full circle. Flip the dough over, seam side down. Gently cup the sides and rotate in a circular motion to tighten the shape. The goal is to build surface tension to create a tight ball.
- If you have used 250g water, line a Dutch oven with a piece of parchment paper or coat with cornmeal. Place the dough inside, cover, and let rise for about 30 minutes to 1 hour. It is ready when slightly puffy, but not double in size. Preheat your oven to 450 F during this time.
- If your dough contains more than 250g water, skip the free-form rise in the pot. Instead, use a floured, cloth-lined proofing basket to help hold its shape during this final rest.
Baking
- Right before baking, make a shallow 2 to 3 inch slash in the center of the dough using a bread lame, razor blade, or small sharp knife. The cut should be about a quarter-inch deep to guide the expansion of the loaf.
- Place the bread in the oven on the center rack with the lid on and reduce the temperature to 400 F. Bake for 20 minutes (this creates steam inside the Dutch oven).
- Remove the lid and continue to bake uncovered for another 40 minutes, until deep, golden brown. Check for doneness with a digital thermometer; you are looking for an internal temperature of 205 to 210 F.
- Remove the bread from the hot Dutch oven and cool on a wire rack for at least an hour before slicing.
Notes
Pro tip: Use a high-quality extra virgin oil that smells peppery and fresh, as the subtle floral notes will remain in the finished bread, enhancing the sour tang of the starter. If your kitchen is consistently cold, place the dough inside an oven that is turned off but has the interior light left on to create a gentle, warm micro-climate. If you want an even crispier bottom, sprinkle a small amount of fine ground cornmeal on the parchment paper before placing the dough into the pot to create a heat-conductive barrier. The loaf yields one large boule, providing fifteen to twenty slices. Store the loaf on the counter in a brown paper bag or slice and freeze if not eaten within three days.
Nutrition
Calories: 172kcalCarbohydrates: 34gProtein: 6gFat: 2g
Tried this recipe?Let us know how it was!